
You’ve decided to build a Shopify website – whether for your retail business, eCommerce store, or to build a marketplace. You’re in the right place!
Shopify has come a long way from being just another eCommerce platform- it’s now a full-blown ecosystem built for entrepreneurs who want to build, grow, and scale their online stores with ease. While the digital marketplace is crowded with platforms like WooCommerce, Wix, and BigCommerce, Shopify continues to stand tall, thanks to its plug-and-play simplicity, robust app marketplace, and a user-friendly backend that even non-techies can master.
What truly sets Shopify apart is how it eliminates the usual tech headaches. No need to juggle third-party plugins from random sources -everything you need is right there in its built-in ecosystem. That’s why countless modern brands, from startups to booming businesses, are choosing a Shopify store in 2026- no tech degree required. Let’s get started.
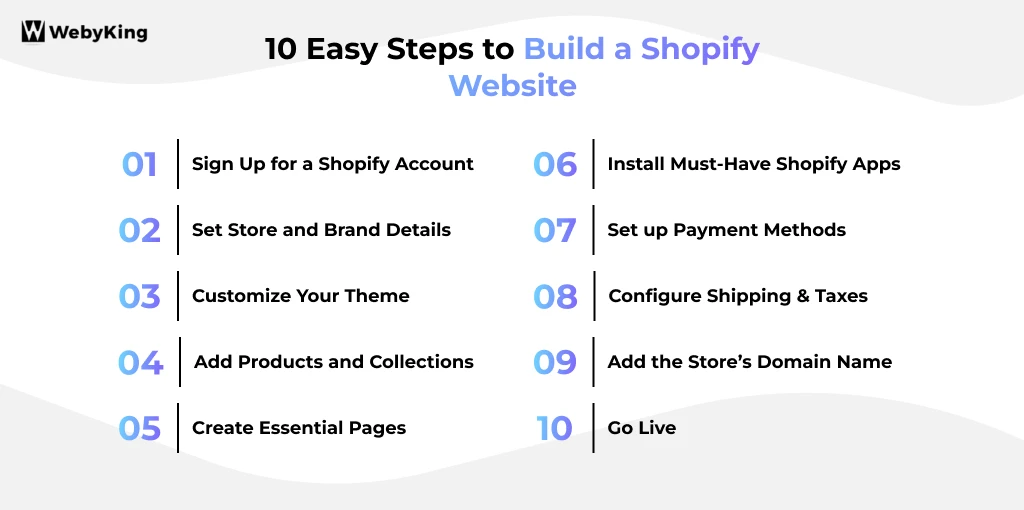
You don’t need to be a tech wizard to build a website with Shopify, just follow these below-mentioned steps. Anybody can start selling online through Shopify, from budding entrepreneurs to mom-and-pop stores and volunteers setting up an extra revenue stream.
The first step in building a Shopify website is creating your account. Go to Shopify.com and click Start Free Trial. You’ll be prompted to enter basic information: your email address, password, and a store name.
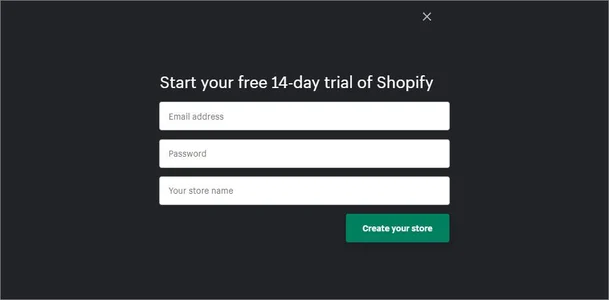
The store name you choose will initially determine your default Shopify domain (yourbrand.myshopify.com), but you can update to a custom domain later.
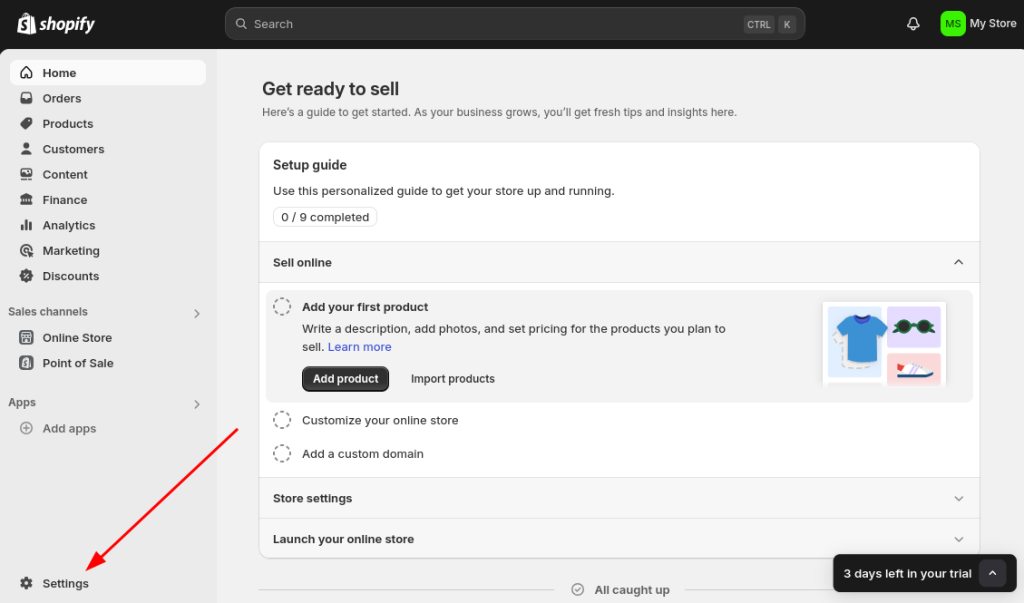
After signing up, Shopify will walk you through a quick setup wizard to better understand your business. You’ll answer a few questions like:
These questions help Shopify tailor the dashboard and recommend features based on your goals. This is a big reason why people prefer to build a Shopify store over other platforms- it’s beginner-friendly yet powerful.
Your store settings define your business identity, so it’s important to get them right from the beginning.
Go to: Settings> Store Details
Here, fill in:
SEO Settings:
This is foundational in Shopify website development – small details like SEO titles and clean URLs make a big difference in visibility.
The design of your website directly impacts how customers perceive your brand. Shopify’s theme store offers both free and paid themes suited for various industries, from fashion and food to digital downloads.
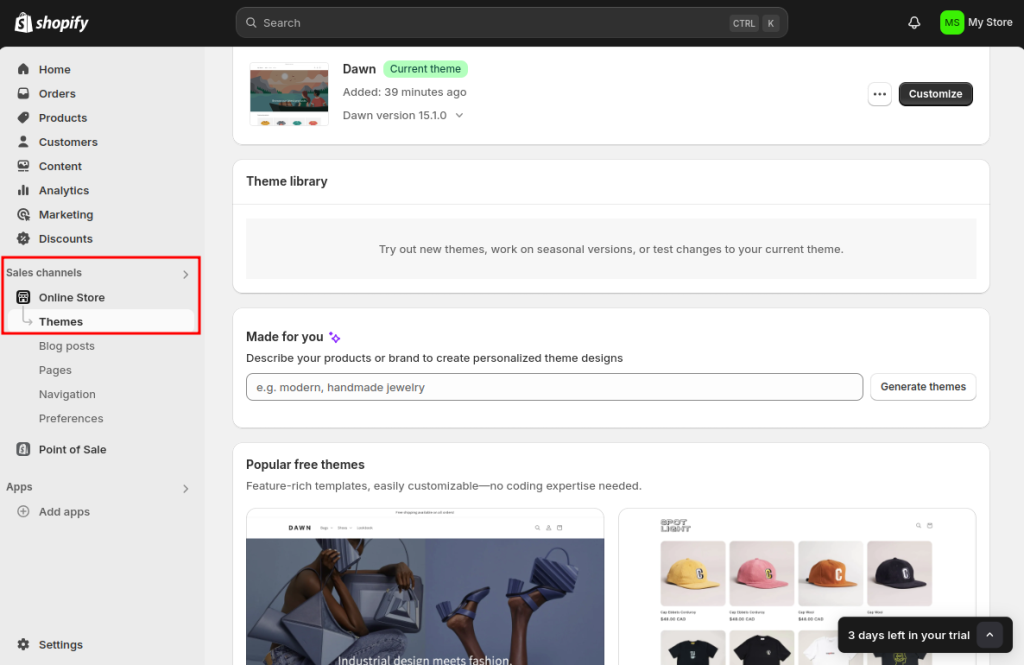
Steps:
For instance, if you are launching a skincare brand, opt for clean, minimalist design with soft pastels and generous white space. Make sure your homepage highlights your bestsellers, brand story, and call-to-action. Customization is where Shopify shines- you don’t need a developer to make your site look like it came out of a design agency.
However, if you need complex design changes, Shopify development services are widely available for hire.
A Shopify store revolves around its products, so let’s add your first few.
To add a product:
Go to products> Add product
Fill out:
Don’t forget to optimize SEO: Edit the search engine listing by writing a product title and meta description that’s keyword-rich but natural.
Organizing with Collections
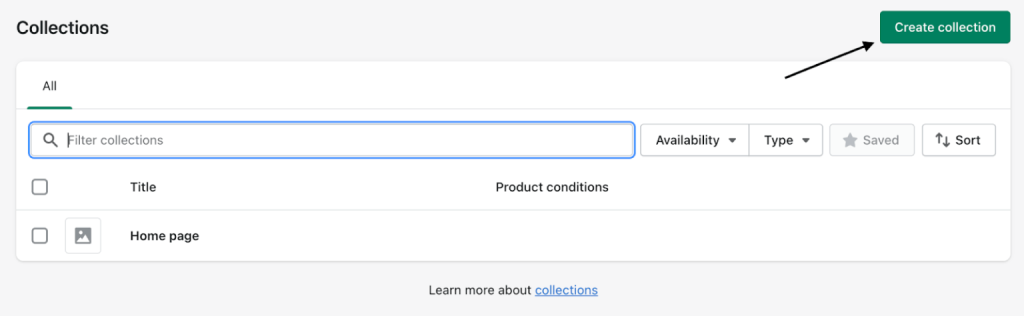
Go to products> collections and click “create collection”. Use automatic rules to group products by tags or manually curate them.
Examples:
Organized collections help streamline browsing and improve navigation — a vital step when building a Shopify store with multiple product categories.
Your store needs more than just products. Pages help establish trust and improve customer experience.
Recommended pages:
How to add:
Go to Online Store > Pages > Add Page, enter a title and content using the rich text editor. Use headers (H2, H3) to break up content and bullet points for clarity.
A well-structured About page and clear FAQ section help build credibility — one of the reasons so many notable brands using Shopify convert better than those on clunky, outdated platforms.
Shopify’s App Store is packed with powerful tools that expand your store’s functionality without custom coding:
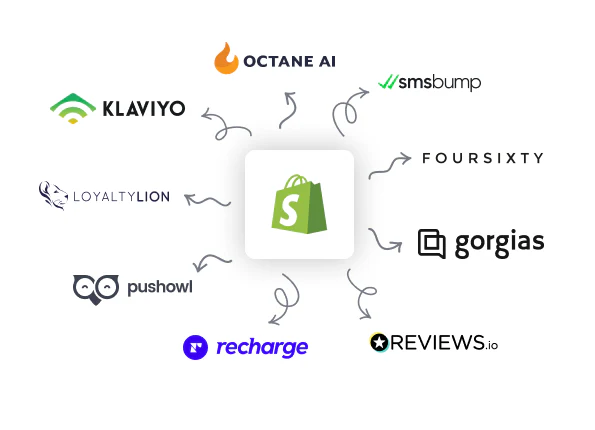
Must-have apps:
To install, go to Apps > Shopify App Store, search for the app, click Add App, and follow the setup guide.
Apps save time, automate workflows, and private features you’d otherwise need a developer for -especially useful if you’re not investing heavily in Shopify development services yet.
The payment gateway is important for processing secure and swift transactions on your Shopify store. To configure payment methods, access the payment provider’s “settings” and complete account setup by entering the required details, including a statement description, transaction fees, and accepted debit/card details.
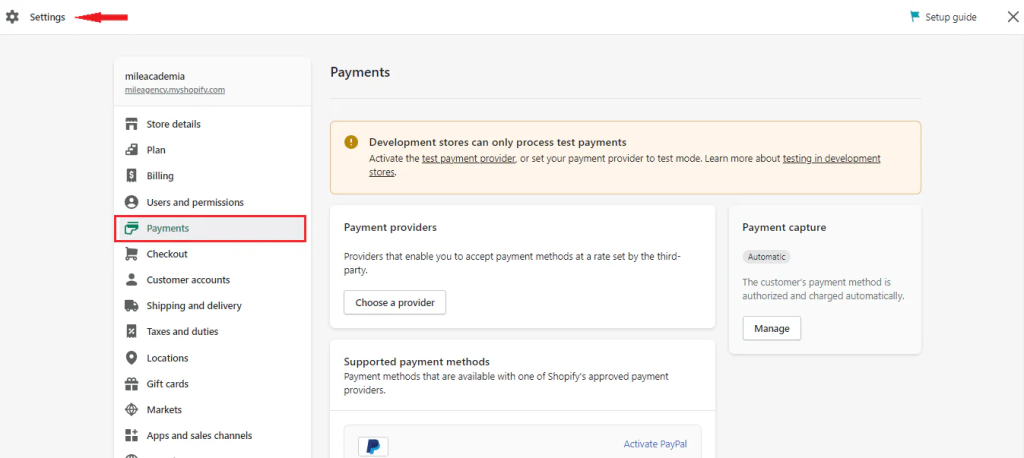
Make sure to complete identity verification and connect your bank account. It’s also a good idea to test your checkout flow using Shopify’s Bogus Gateway before going live.
Having seamless, trusted payment options is critical to building trust when you build a website with Shopify.
Set up Shipping:
Go to Settings > Shipping and Delivery
You can create shipping zones by country or region. Set:
You can also configure packaging preferences and local delivery options.
Set up Taxes:
Go to Settings > Taxes and Duties
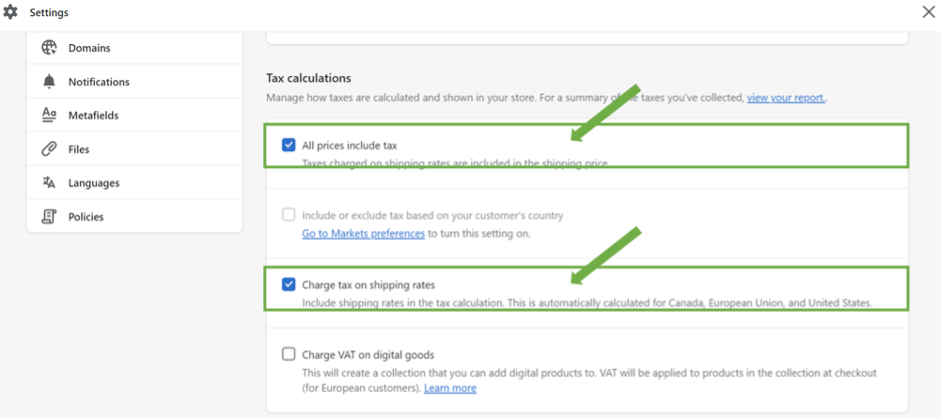
Shopify automatically calculates tax rates based on your store’s location. Still, you should verify this with a tax professional, especially for international sales.
Taxes and shipping aren’t just back-end settings — they’re often among the first things discussed when working with a Shopify development agency. Especially if you’re targeting international customers, these factors can significantly influence the overall Shopify website development cost and strategy.
A custom domain gives your store a professional edge.
Steps:
Once connected, set it as your Primary domain and enable SSL encryption (Shopify does this automatically) for security and trust.
This step is often the turning point where your store goes from “in progress” to a real, credible business.
Before launching your store, do a full checklist:
Finally, remove the password under online store > preferences to make your website public. Congratulations – your store is officially live!
Now, you have learned how to build a store on Shopify from start to finish. Whether you’re bootstrapping or scaling, the tools are in your hands.
In conclusion, building a Shopify store doesn’t have to be a difficult or time-consuming process. With the right tools and techniques, you can create a visually stunning and dynamic Shopify website in a couple of days.
By following the steps mentioned above, you can personalize your store’s theme, choose a domain name, choose the right apps, and set up payment and shipping methods that fulfill your customers’ requirements. From adding products to developing landing pages to optimizing your store for search engines, Shopify comes with lots of options.
Remember, heading towards the visually attractive world, a well-designed Shopify store can help your business stand out from the crowd and foster loyalty with customers. Contact us so that you can create just about any kind of Shopify website you can dream of.
Let us help you turn your vision into a fully optimized, high-converting eCommerce website.
It typically ranges from $29/month for basic plans to a few thousand dollars if you hire a development agency.
Yes, Shopify’s drag-and-drop builder and themes let you build a store with zero coding skills.
With a basic setup, you can go live in a day, but a full-featured store may take a week or more.
You don’t need one, but having a custom domain adds credibility and is recommended.
Yes, Shopify supports multi-currency, international shipping, and language localization.
Ravi Makhija, the visionary Founder and CEO of WebyKing, is a seasoned digital marketing strategist and web technology expert with over a decade of experience. Under his leadership, WebyKing has evolved into a premier full service web and marketing agency, delivering innovative solutions that drive online success. Ravi’s deep understanding of the digital landscape combined with his passion for cutting-edge technologies empowers him to consistently exceed client expectations and deliver results that matter.

Let’s turn your ideas into impact—reach out and let’s build something exceptional together.
Customer
Retention Ratio
Certified Professionals
Projects
Years of Experience


TRUSTED BY 100+ CLIENTS, WITH OVER 100 PROJECTS SUCCESSFULLY DELIVERED AS A FULL-SERVICE WEB AGENCY
TRUSTED BY 100+ CLIENTS, WITH OVER 100 PROJECTS SUCCESSFULLY DELIVERED AS A FULL-SERVICE WEB AGENCY
TRUSTED BY 100+ CLIENTS, WITH OVER 100 PROJECTS SUCCESSFULLY DELIVERED AS A FULL-SERVICE WEB AGENCY
Web Design By Industry
Digital Marketing
eCommerce Web Design
SEO Services
Lead Gen By Industry
Migration By Platform
PPC By Industry
Maintenance By Platform
Our Presence
Expand your business digitally on a global scale! We’re always ready at your service, with dedicated teams in three key international locations.
5354 Denny Ave, North Hollywood, Los Angeles, CA 91601, United States.
9720 Jones Rd, S210, Houston, TX 77065, United States.
The Spire, Office No: 312, Near Ayodhya Chowk BRTS Bus Stop, 150 Feet Ring Road, Rajkot
Share your details below and we’ll get back to you soon.
We’ll get back to you shortly.


